Cent Redesign - Release NFT & Onboarding

As a product designer, creating and designing is a key part of my daily responsibilities. However, it can be difficult to fully convey a design without a prototype to demonstrate it in action. While building prototypes in Figma can be time-consuming, it is an essential step in effectively communicating and showcasing the design across various screens and explaining the overall product.
Investing the time to set up a prototype in Figma is crucial for any product designer.
Start from the very beginning
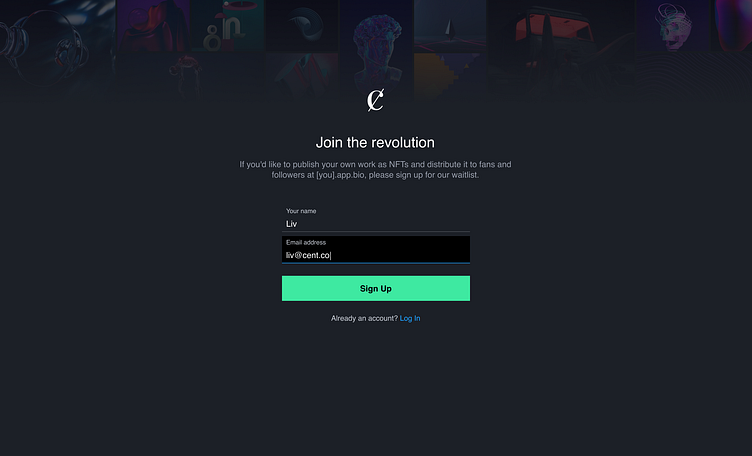
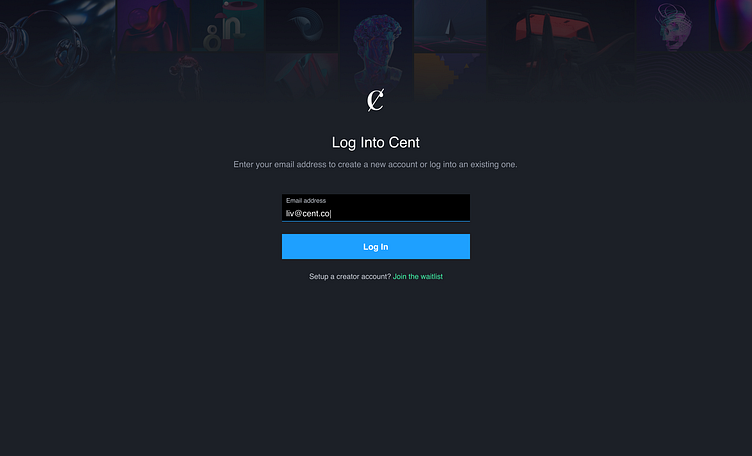
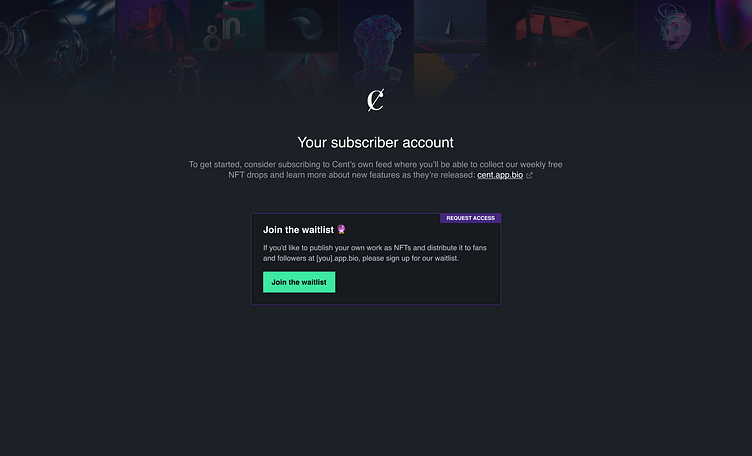
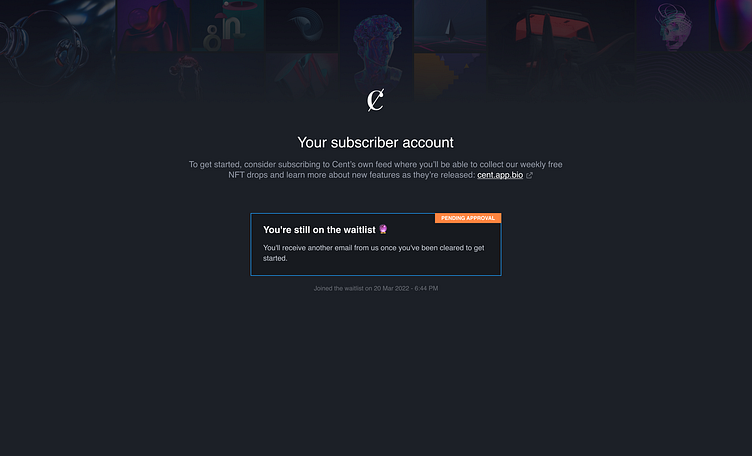
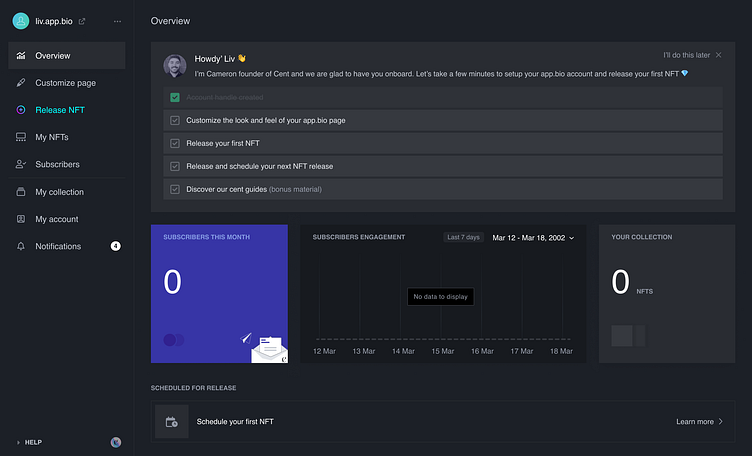
The registration and login process is the foundation of the user experience, and it is important to consider the transition to the empty state of the Dashboard.
To ensure a seamless experience, the registration process begins with an approval process by the team (invitations only). All users are contacted before allowing them to create their Cent Page.
Once registered and approved, users can log in to check their account status and proceed with creating their Cent Page by adding their handle or username.


Onboarding Process
Upon completion of creating their Cent Page, users are redirected to the empty state of the Dashboard. This initial view presents a brief, interactive to-do list to help familiarize the user with the user interface and navigation.
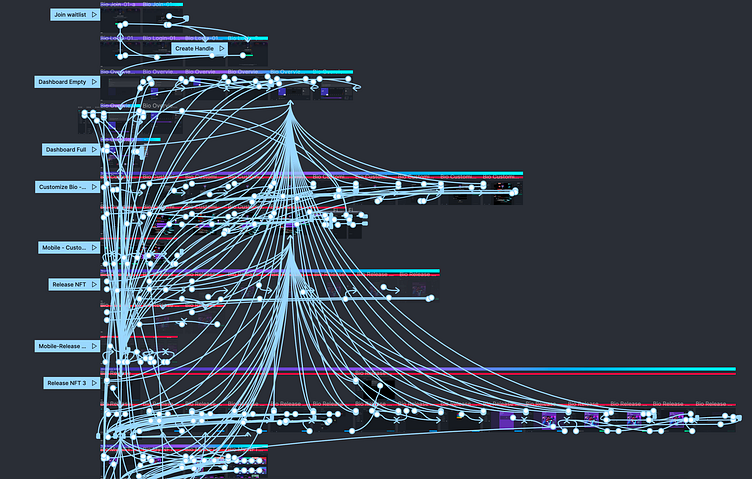
In the process of constructing the Figma prototype, multiple Dashboard designs were created to effectively display various content and ensure clear communication for development.
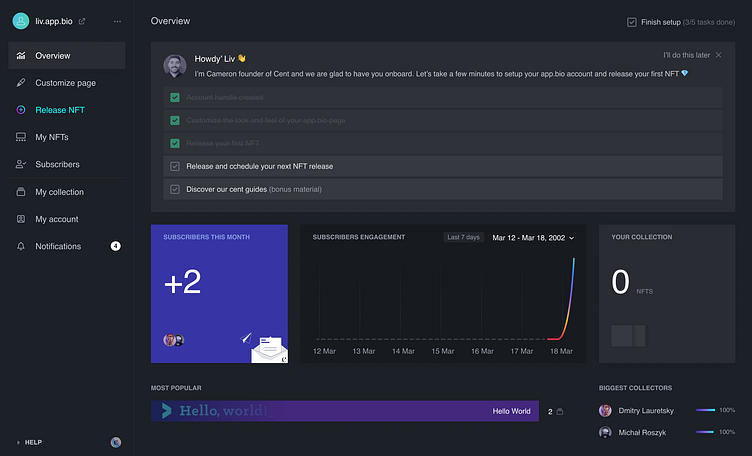
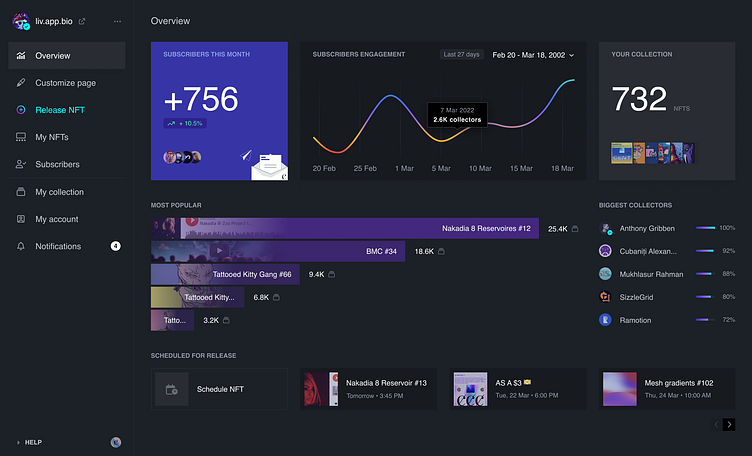
This approach provides a clear understanding of how a Cent Page evolves and guides development in building the Dashboard, keeping the intended progression in mind.
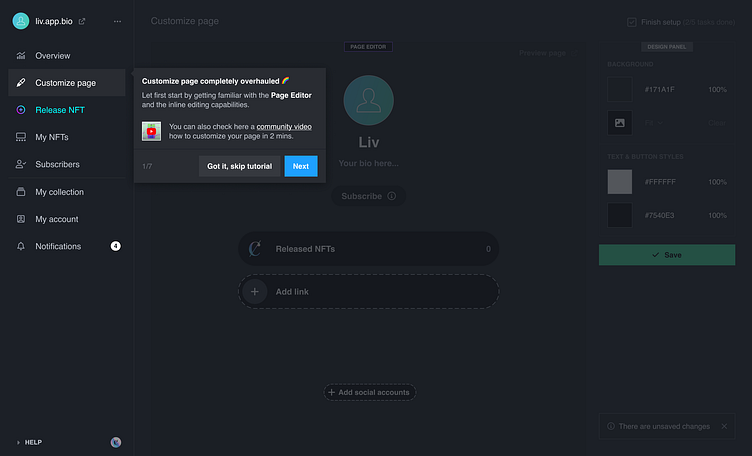
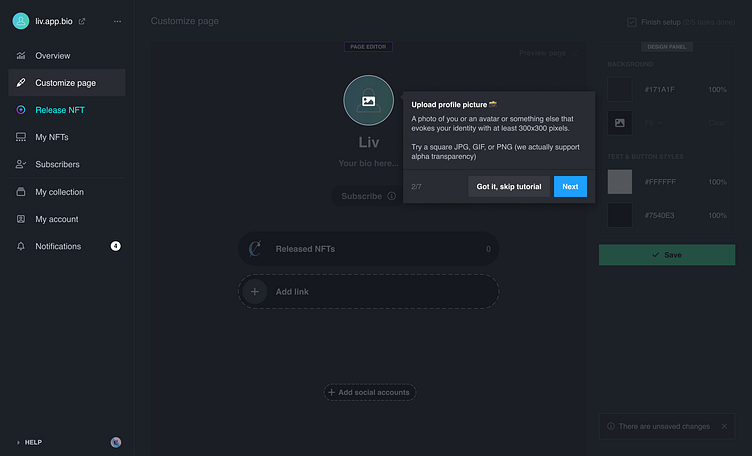
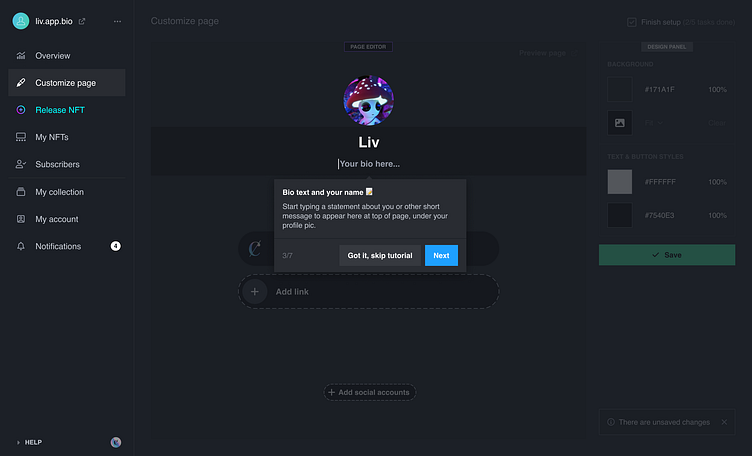
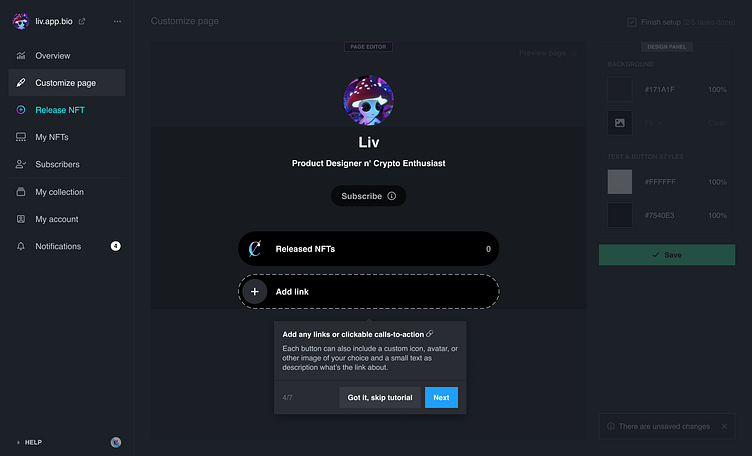
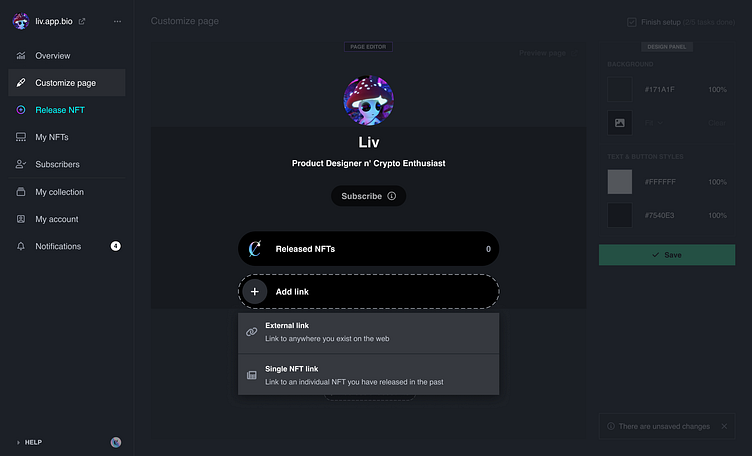
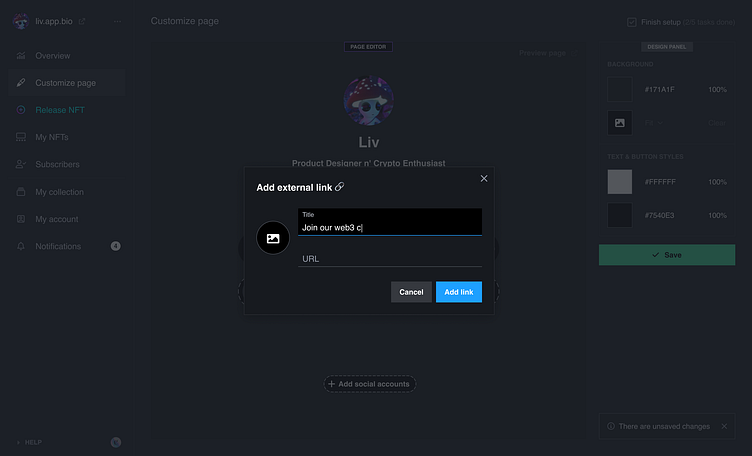
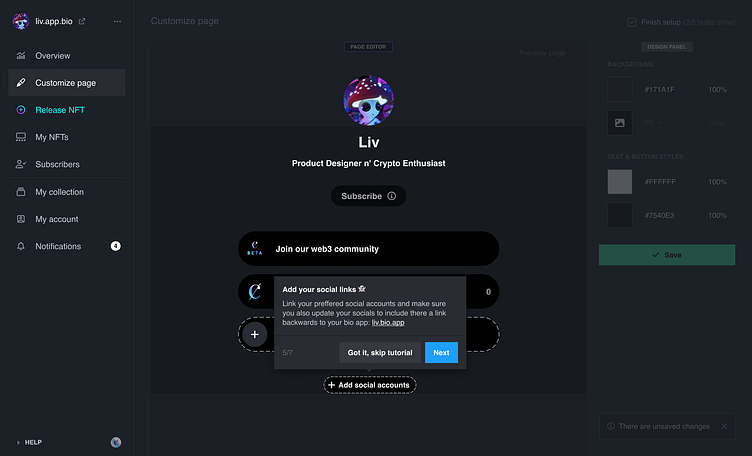
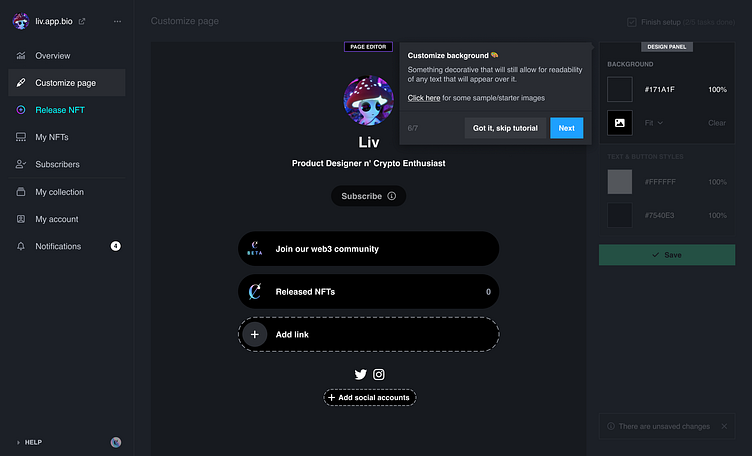
Guided Tours
One strategy for onboarding users is to implement guided tours. As part of this project, a complete redesign of the page customization feature was undertaken to enhance the user experience.

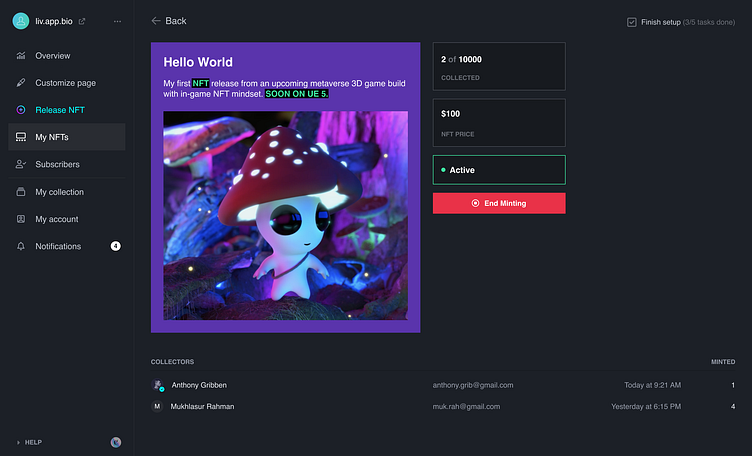
Release NFT Flow
An NFT, or non-fungible token, is a digital asset that represents ownership of a unique item or piece of content, such as artwork, music, videos, and virtual real estate. These tokens are stored on a blockchain, which is a decentralized digital ledger.
When creating an NFT, it's important to keep in mind that the process of releasing and buying should be simple and easy for the user to understand, without burdening them with the technical details of blockchain technology.
The underlying blockchain infrastructure should be made as invisible as possible to the user.
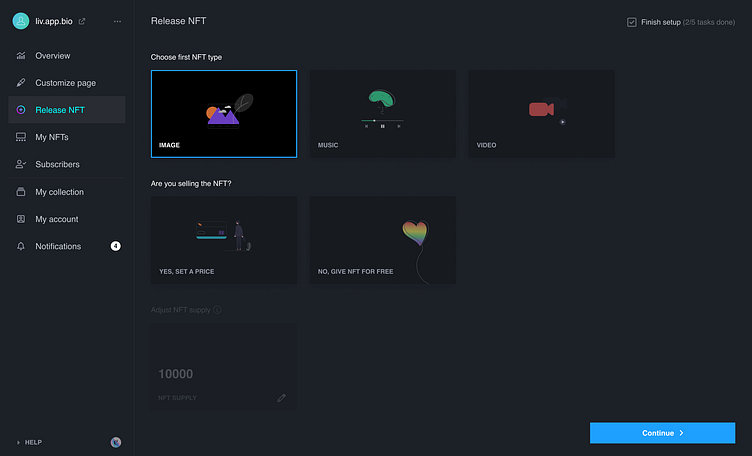


Releasing an NFT can be broken down into three main steps:
Select the media you wish to release, choose a price, or make it free
Adjust the supply and royalities
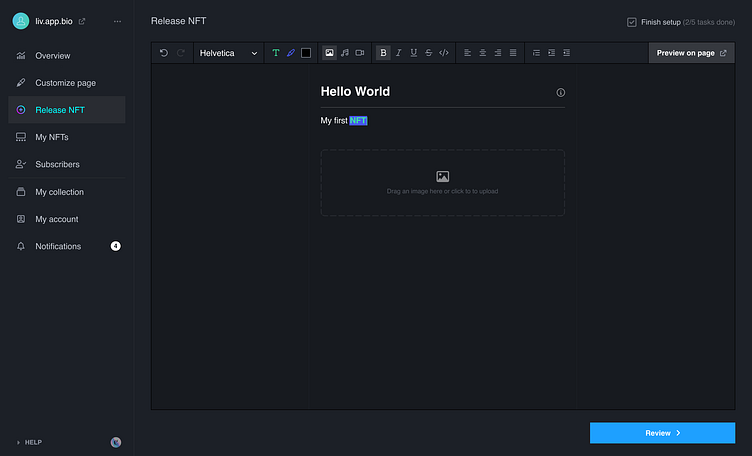
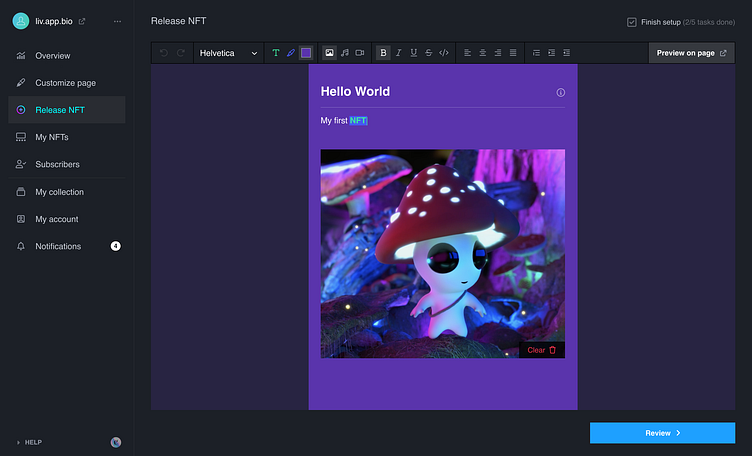
Upload the media and add a title and description.
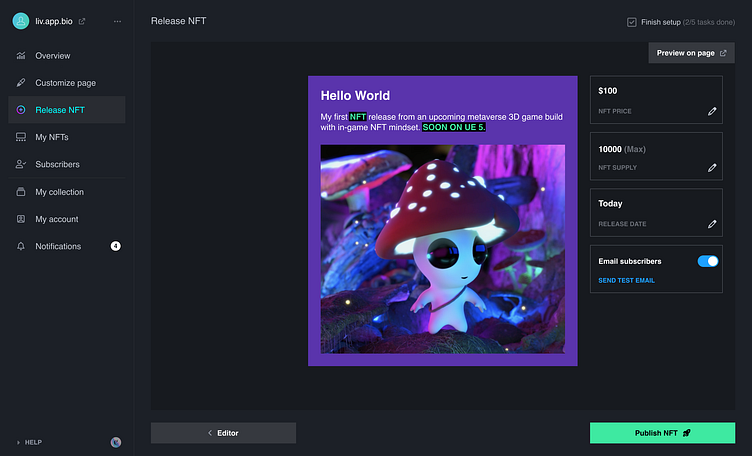
Review and publish the NFT.
During the final step, before publishing, it's possible to make last-minute edits to important details from step one, such as adjusting the price and supply, and even perform a test email to preview the NFT before finalizing the publishing process.

Responsiveness
Responsiveness is crucial for success in web3 products, as an increasing number of users access the internet primarily through mobile devices. Therefore, each design I created, particularly for the NFT release and page editor features, must function seamlessly on mobile in addition to desktop to ensure optimal user experience.

Can be overwhelming but it's all worth it!
Creating Figma prototypes can be a daunting task, especially when editing the designs as it may require rebuilding the prototypes from scratch.
The blue lines in Figma are used to connect the screens and create a click-through prototype, as demonstrated in the video. This process can be time-consuming, but it's crucial to ensure a polished, interactive design for the user.
Thank you 💎
/Liv


